Creating a Bastion for SSH access on AWS
On some occasions you may want a bastion host present in your VPC. For example:
- accessing a DiscrimiNAT instance over SSH
- accessing a host without a public IP
Creating a Bastion Host
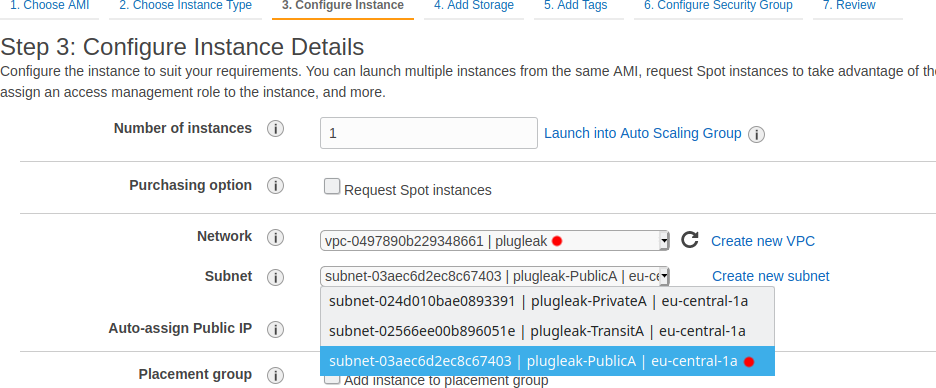
Let's create a new instance pretty much as usual, taking care that:
- it's in the right VPC (one that has DiscrimiNAT in it)
- it's in the Public subnet so that direct public IP is routing is available
- Auto-assign public IP is Enabled
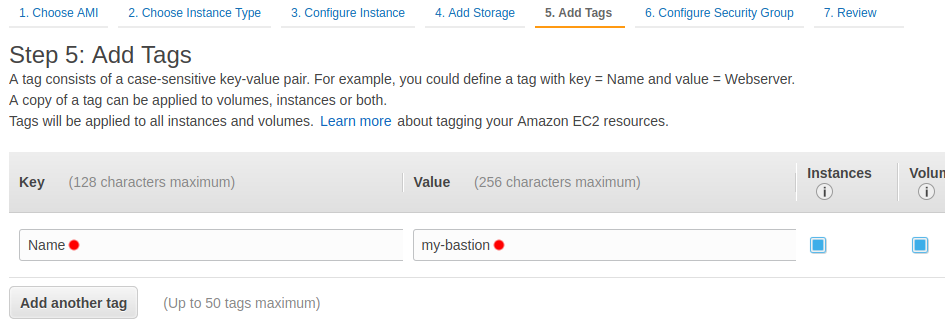
Perhaps give it an appropriate name.
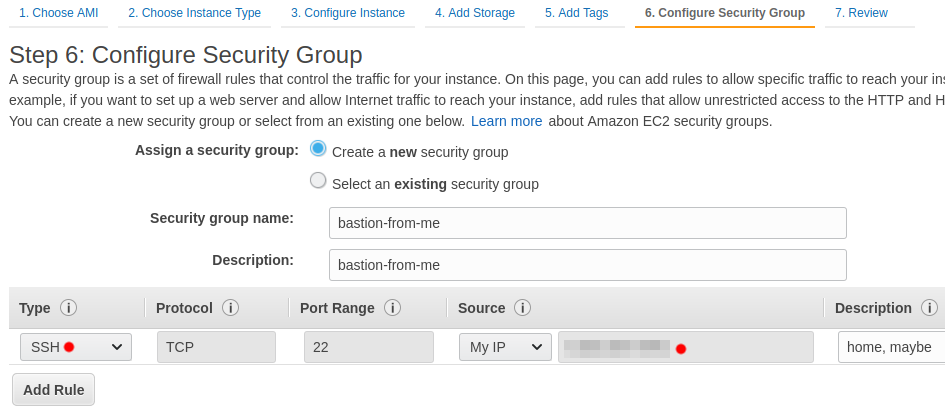
Let's create a new security group while we're at it, for the exclusive purpose of letting you connect to this bastion host. Choosing My IP, in most cases, should accurately determine your IP address. This will enable you to directly connect to this instance, from your public IP to its public IP.
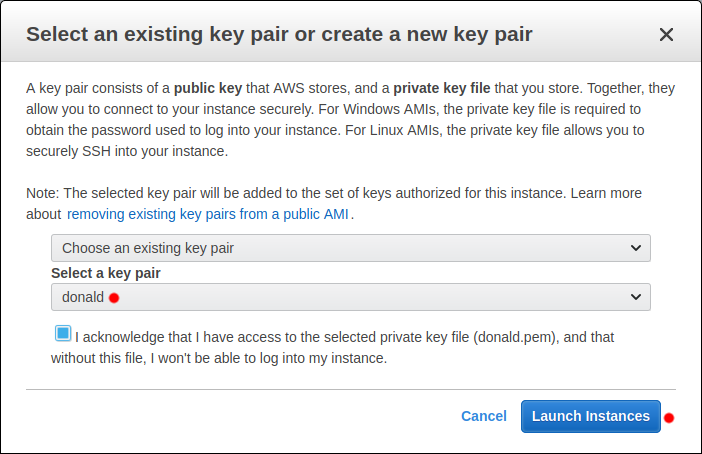
Associate an SSH Key Pair so we can log in at all.
Your bastion host on AWS is now ready!
Accessing a DiscrimiNAT instance through the Bastion
If DiscrimiNAT was deployed via the provided CloudFormation templates or Terraform modules, an SSH Key Pair should've been set at that stage; otherwise, you won't be able to authenticate into its instances.
The DiscrimiNAT image is hardened per The CIS Ubuntu Linux 24.04 LTS Benchmark Level 2 - Server. Therefore, SSH access to it requires your posture to be sound and secure. Let's check with a few commands on your machine:
The SSH Agent should have only one identity loaded. This is to prevent it from trying one identity after another to the server, causing the server to block the user after too many failures. So it's safer to just have the one identity that will work.
ssh-add -LIf the output shows more than one line, you may clear all of them out with the command
ssh-add -D. If the previous command still shows some lines, check the.sshdirectory in your home directory for unexpected private key files.To add a specific private key to the SSH Agent, run the command:
ssh-add /path/to/private-keyAnd then check with
ssh-add -Lwhether only one line in the output is present.The username to use for login will depend on the Linux image chosen for this function.
Contact our DevSecOps Support for help with the usernames.
Finally, SSH into the DiscrimiNAT instance using the bastion host as ProxyJump. This is needed because DiscrimiNAT will only allow SSH connections from private IPs (i.e. within the VPC), so you cannot connect to it from a public IP.
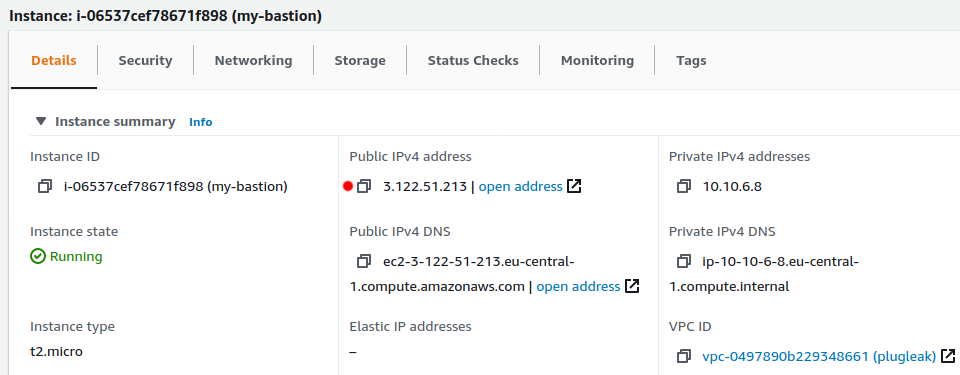
You will need the public IP address of the bastion, the private IP address of the target DiscrimiNAT instance, and this command:
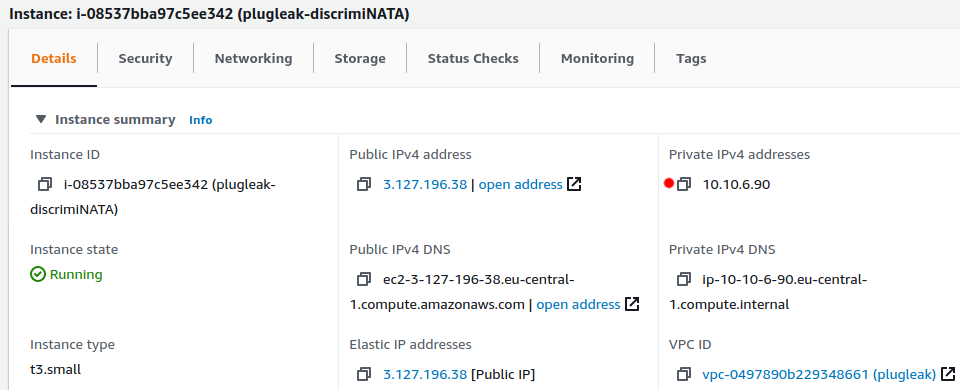
ssh -J <username>@<public IP of bastion> <username>@<private IP of discriminat instance>An example of a fully formed command from the example deployment in the screenshots is:
ssh -J <username>@3.122.51.213 <username>@10.10.6.90
If you manage to lock yourselves out of a DiscrimiNAT instance due to repeated authentication failures, either terminate the instance and let the AutoScaling Group bring back a new one, or wait 15 minutes.
Accessing a host without a public IP through the Bastion
This could be much simpler if your target instances are not fussy about where you connect from and how many keys you present during authentication. However, since the targets do not have a public IP address at all in this case, you still need to use a bastion host, so there is connectivity to and from them. The commands are the same as above:
Verify the right keys are loaded in your SSH Agent:
ssh-add -LConnect using the bastion host as ProxyJump:
ssh -J <username>@<public IP of bastion> <username>@<private IP of target instance>